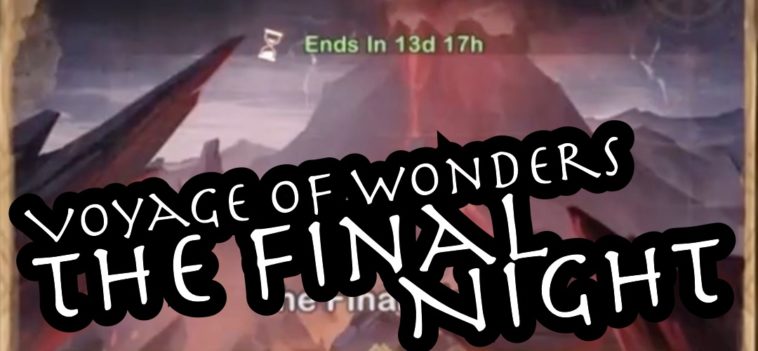
The new realm in Voyage of Wonders is coming and it’s called the The Final Night. Overall, this realm has a nice story paired with a fun puzzle (although the puzzle aspect is nothing compared to the previous realm…).
The Final Night General & Rewards
As I mentioned above, this realm has quite a cool storyline. You need to identify the imposter among the other characters by revealing clues and putting the pieces of their story together. In between there are some puzzles but they aren’t very complicated, primarily some railroad setups you need to change.
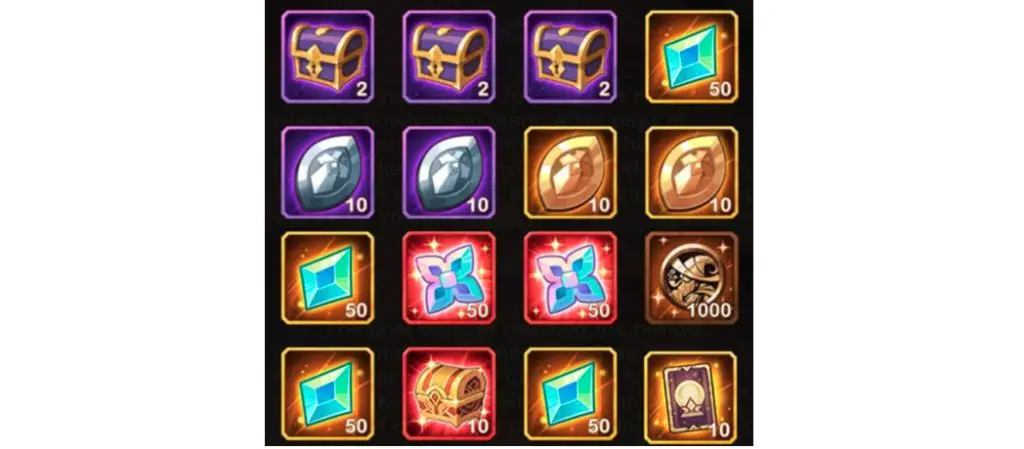
Okay, first things first, the rewards are better than last time (but that wasn’t that hard) and we have one final Crystal Chest that will reward you with 10x Stargazing Cards. Not that stunning but alright and useful to anybody out there.

The Golden Chest will give you th usual boosters, emblems and so on as every Voyage of Wonders and The Last Night is no exception here.
The Final Night Walkthrough
As always, you will find a full walkthrough for the realm here. With that being said, let’s not waste any more time and jump right into the walkthrough for The Final Night.
Important! I have written the walkthrough of The Final Night in a way that it won’t spoiler any story parts, so if you’re only here to get a step and then want to continue you can do that without risking any spoiler of the story.
Step 1 – in the beginning, right after the initial conversation about the characters and the imposter storyline you’ll find yourself in front of the central camp where you discover most of the storyline.
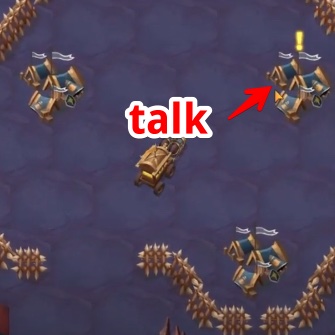


Talk to Vurk first (1) and then you will see the path to the north open up that you need to take now and clear some camps (2). There you will see the first Mythical Chest (3) that has a hint about the imposter.
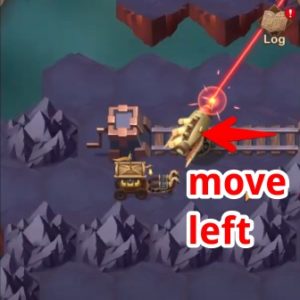
Step 2 – now head to the left where you see one railroad switch with a later beam on it (1), move the laser beam to the top position for a later point. Then head to the right side of that section where you will see a Mysterious Scroll (2) that will be the next hint towards finding the imposter.
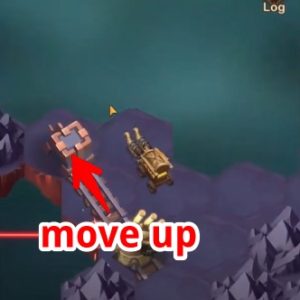
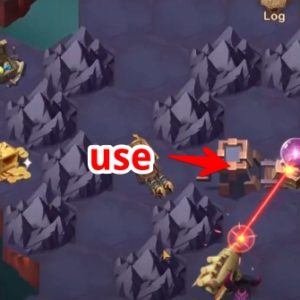
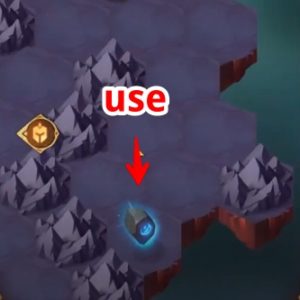
Then you also need to activate the stone in this section to destroy the volcano (3). To do this, move the laser beam to the bottom position and simply select the Mystical Stone Tablet.
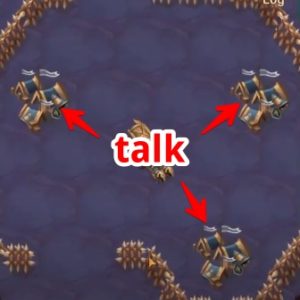
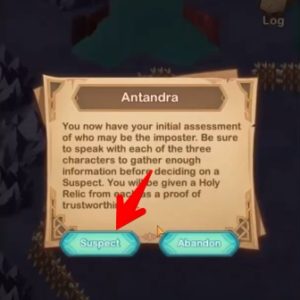
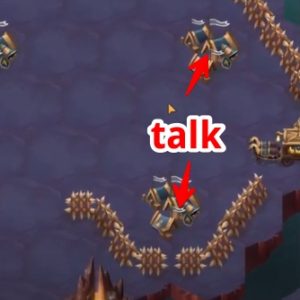
Step 3 – time to head back to the central place and talk to the other characters (1). The order doesn’t matter that much but make sure that you talked to Lucius, Antandra and Vurk each. Once you’ve done that, you need to select the character you think is the suspect. The order won’t make much difference as the sections are pretty much “self-depending” so let’s go with Antandra first (2) …


Now you will see the yellow exclamation mark above Lucius (3) so talk to him once more.
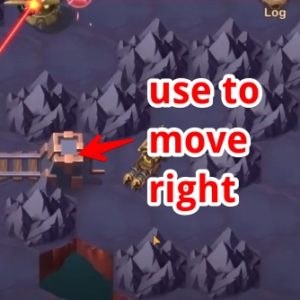
Step 4 – after you’ve talked to Lucius again, the right section wall will open up and the next section needs to be cleared. Right at the start you have a railroad track that needs to be move to the left position (1) before you can clear several camps and collect some Golden Chests there.
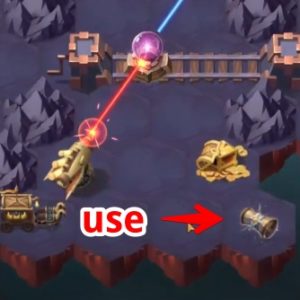
Once cleared them go to the bottom part where you have the magic orb on the railroad and move it to the left position (2). Make sure to not miss any Golden Chest there before you can collect the next mysterious Scroll (3) at the center bottom side of the Final Night map.
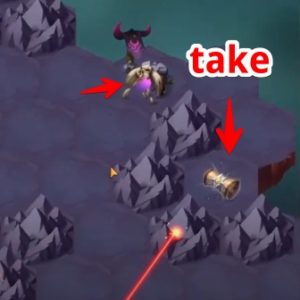
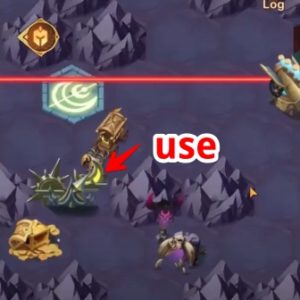
Step 5 – after that Mysterious Scroll from the previous step gave you another clue, you need to pick up the next one which is directed right of your current position (1) and you can straight walk there and pick it up after cleaning the camps.

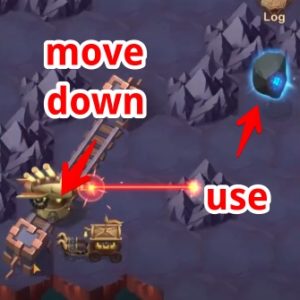
Then you need to use the railway switch to your left and move the orb to the right position (2). This will re-activate the red laser beam again and let you get the 2nd Stone Tablet (3) at the very right of the Final Night map. Once used, a portal will appear that you need to use to get back to the center outpost where the other characters wait.
Step 6 – time to talk to Vurk and Lucius again (1) and then suspect Antandra again (2). Now a yellow exclamation mark will appear over her camp and you can talk to her again (3).


Now the path to the left side of The Final Night map is open and this is the last section you need to clear.
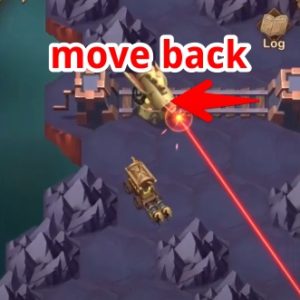
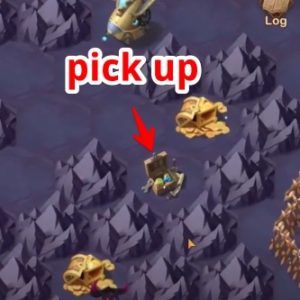
Step 7 – following that path to the left you will find a camp and also another Golden Chest and a railway switch that you need to move (1) to proceed. After you’ve passed it, don’t forget to move it back to the initial position, left (2), to block the blue laser beam. Following the left path you will find the next Mysterious Chest (3) that you need to pick up. Also pick up all Golden Chests on the path there.

Step 8 – after that, follow the path and you will come across a yellow lever (1) that you need to use to lower the yellow stone. Then follow the path to the right side where you can now pick up the next Mysterious Chest (2). This will give you the clue you need to find the imposter but before confronting you need to clear the full section. Follow the path to the left side of The Final Night map (below the yellow lever) and clear the camps there as well as picking up all Golden Chests. At the very bottom you will find the last Mysterious Chest (3) that you need to pick up).


Step 9 – alright, time for the final battle. You should have picked up all Golden Chests at this point. If not, collect the missing ones. If yes, it’s time to confront the imposter so get back to the main camp by moving the cart to the top position (1). Now the path is free.

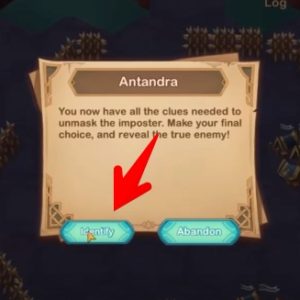
In the main camp talk to Lucius and Vurk first (2) before identifying Antandra (3). This will turn her into Mehira and the final boss camp of The Final Night appears.
No worries, the fight looks a lot more difficult than it is as all the relics you got from Antandra earlier will turn into really powerful ones:
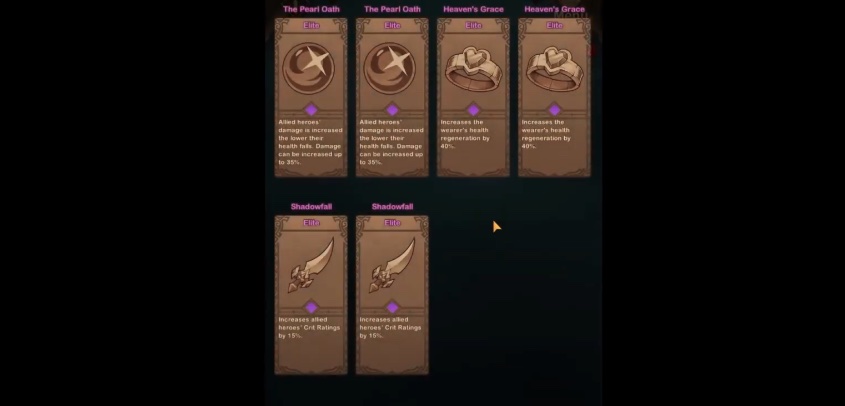
Beat that fight and you will get the Crystal Chest with the main reward, the 10x Stargazing Cards, and you’ve beaten The Final Night successfully.
